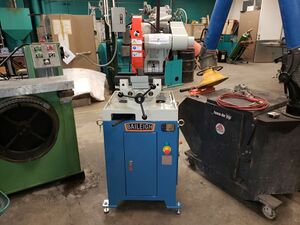
Baileigh Manual Cold Saw
Jump to navigation
Jump to search
Safety
- Never place anything you don't want to be cut in front of the blade.
- Never clean or repair the machine when it is on.
- Always secure work-piece using the vise.
- Replace saw blade immediately if you see any missing saw teeth.
- Use proper eye protection.
- When doing maintenance on machine make sure that the power is off.
- Do not wear any jewelry or loose fitting clothes while operation the saw.
- In case of emergency you can use the red E-Stop button that will stop the blade immediately. It needs to be twisted clockwise to be released. It will not start after it is released.
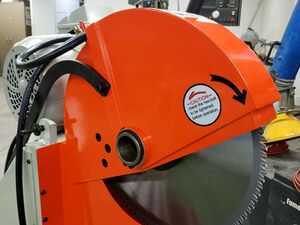
- Never use the saw if the blade guard is not on.
- Do not move or try to adjust the blade guard when the machine is on, or the blade is moving.
- If you need to move the machine use the forklift or use the 4 lifting rings with lifting straps
- Adhere to all safe lifting procedures when lifting this machine.
Loss Prevention
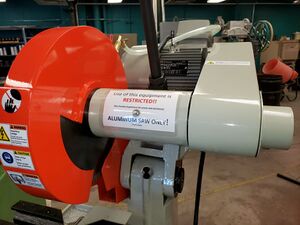
- Only cut Aluminum using this saw.
- Check if the coolant tank is filled to 80%. Do not go over 80%.
- Using a 10:1 coolant solution or a Baileigh 20:1 coolant solution for the cooling liquid.
- Clean the filter screens in the coolant tank.
- Check that the cables and the hoses are not in the path of the cutter.
- Always support long work-pieces
- Do not cut the work piece too fast.
- This could cause damage to the blade or the work piece.
- Know the limits of the machine.
General Maintenance
- Empty the shavings basket after use.
- Clean the shavings under the basket as well.
- Clean around the machine as well. The saw produces a lot of shavings.
- Clear off the shavings in and around vise.
- This will ensure that the vise will would proper and smoothly.
- Grease at the two injection points.
- The injection points are on the head pivot joint and the saw head assembly.
- Check to see if all nuts and bolt are tighten and secure.
- Clean hoses if the coolant is not coming out adequately.
Operation Procedure
Do not turn on the saw until you are ready to cut.
- Set the angle for for cut.
- Adjust the bar stop for the length of cut you require.
- Place the work piece into the vise and secure it in the vise.
- Turn on the machine with the switch on the side of the cold saw.
- After turning on, check for the green light above the E-Stop button.
- Open the coolant valve and adjust to needed flow.
- Grab the black handle on top of the machine.
- You will need to press and hold the button on the handle to get the blade to spin.
- Pull down the handle steadily and with constant pressure.
- Do not yank down the saw onto the work-piece. This will lead to a bad cut quality and possible damage to the blade.
- Slowly raise the handle.
- Do not let go of the saw. The spring is strong and will pull it up too fast if you do not hold on to it.
- To stop the blade you release the the button to stop the blade.
- Repeat as necessary for multiple cuts.
- Shut the coolant valve off after you are done using it.
Use E-Stop for emergencies to immediately stop the blade.
- To turn the saw back on will to twist the E-Stop button clockwise to release the stop.
Blade Replacement Procedure
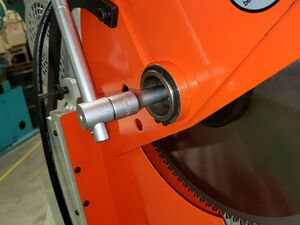
Only use 14 Inch blades with this saw.
- See Foundry Supervisor for inquires on different blade types.
- Check to see if the device is off.
- If not turn off before moving to further steps.
- Pull back on the knurled washer with a spring to release the blade cover.
- Lift and push back the cover.
- Place a wood block onto the vise.
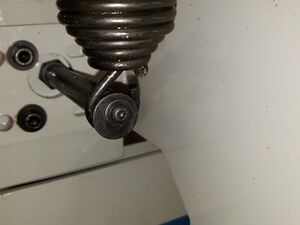
- Take off the spring at the rear of the machine.
- You will need to use a hex head wrench to unscrew nut holding the spring on.
- Use the Allen wrench set that come with the machine. It will be in one of the compartments.
- Have someone hold the saw up when you take the spring off to ensure the saw does not fall.
- Slowly lower the machine head onto the wood block.
- The saw blade will rest on the block.
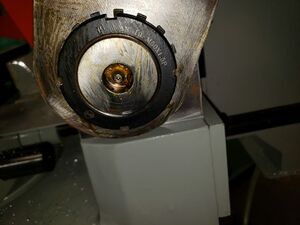
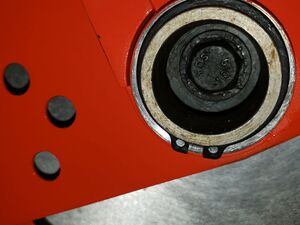
- Use a 24 mm hex wrench to remove the lock bolt through the access hole.
- It is a left-handed thread.
- You will rotate the wrench clockwise to loosen the blade.
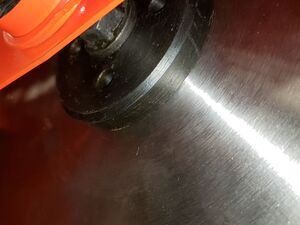
- Remove the blade and the thick washer.
- Keep the washer off until you put the new blade on.
- Place the washer on the new blade on the left side of the blade.
- You do not need to line up the holes in the saw blade with the holes in the washer.
- Place the new blade and the washer back into the machine.
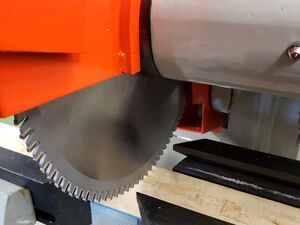
- Make sure the teeth are facing downward.
- Tighten the locking bolt down.
- The blade should firmly on the machine. It should have no movement side to side.
- The blade should rotate concentrically.
